

Four Crucial Setup you need to make in your New AWS Account
Learn the few Crucial setups in your AWS Account you must have!


In this post, I will be discussing Four crucial settings one needs to make in their new AWS Account.
Ok! You have got your new AWS account and at this point, you just have your root User. Here is a list of few best practice I feel one need to have in their AWS Account from security and economic standpoint.
1. Turn (MFA) Multi-Factor Authentication On For Your Root Account
Your root user has permissions to all the resources and services. From a security standpoint, it's too powerful to be messed with. Any misconfigured service or any extra resources created unintentionally might cost you heavily on your Wallet. Also from the perspective of Least Privilege Policy, you should have different IAM USers with different roles having access to different services as required.
A good step is to rarely use it and enable MFA on this account so it's a bit more secure from compromises.
- go to your Security Credentials from the drop-down menu you get when hovering your username. On the next page choose the Multi-Factor Authentication Option.
- click on Activate MFA to receive options of various MFA Devices.
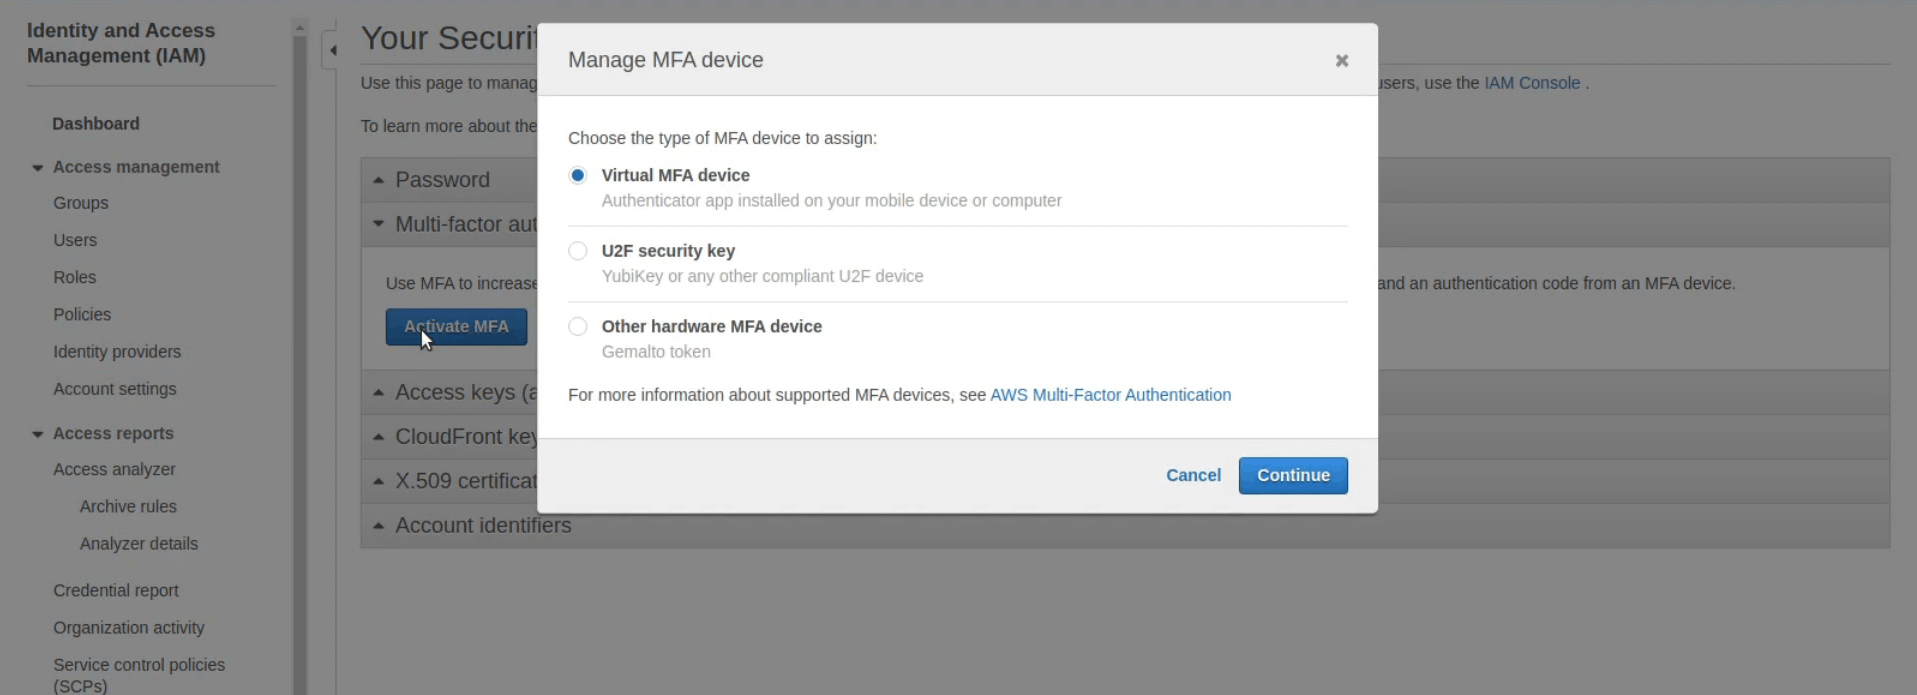
- I will choose virtual MFA and use Google Authenticator as a virtual MFA device. You need to install Google Authenticator App on your Smartphone and scan the QR Code which appears on the following Screen.
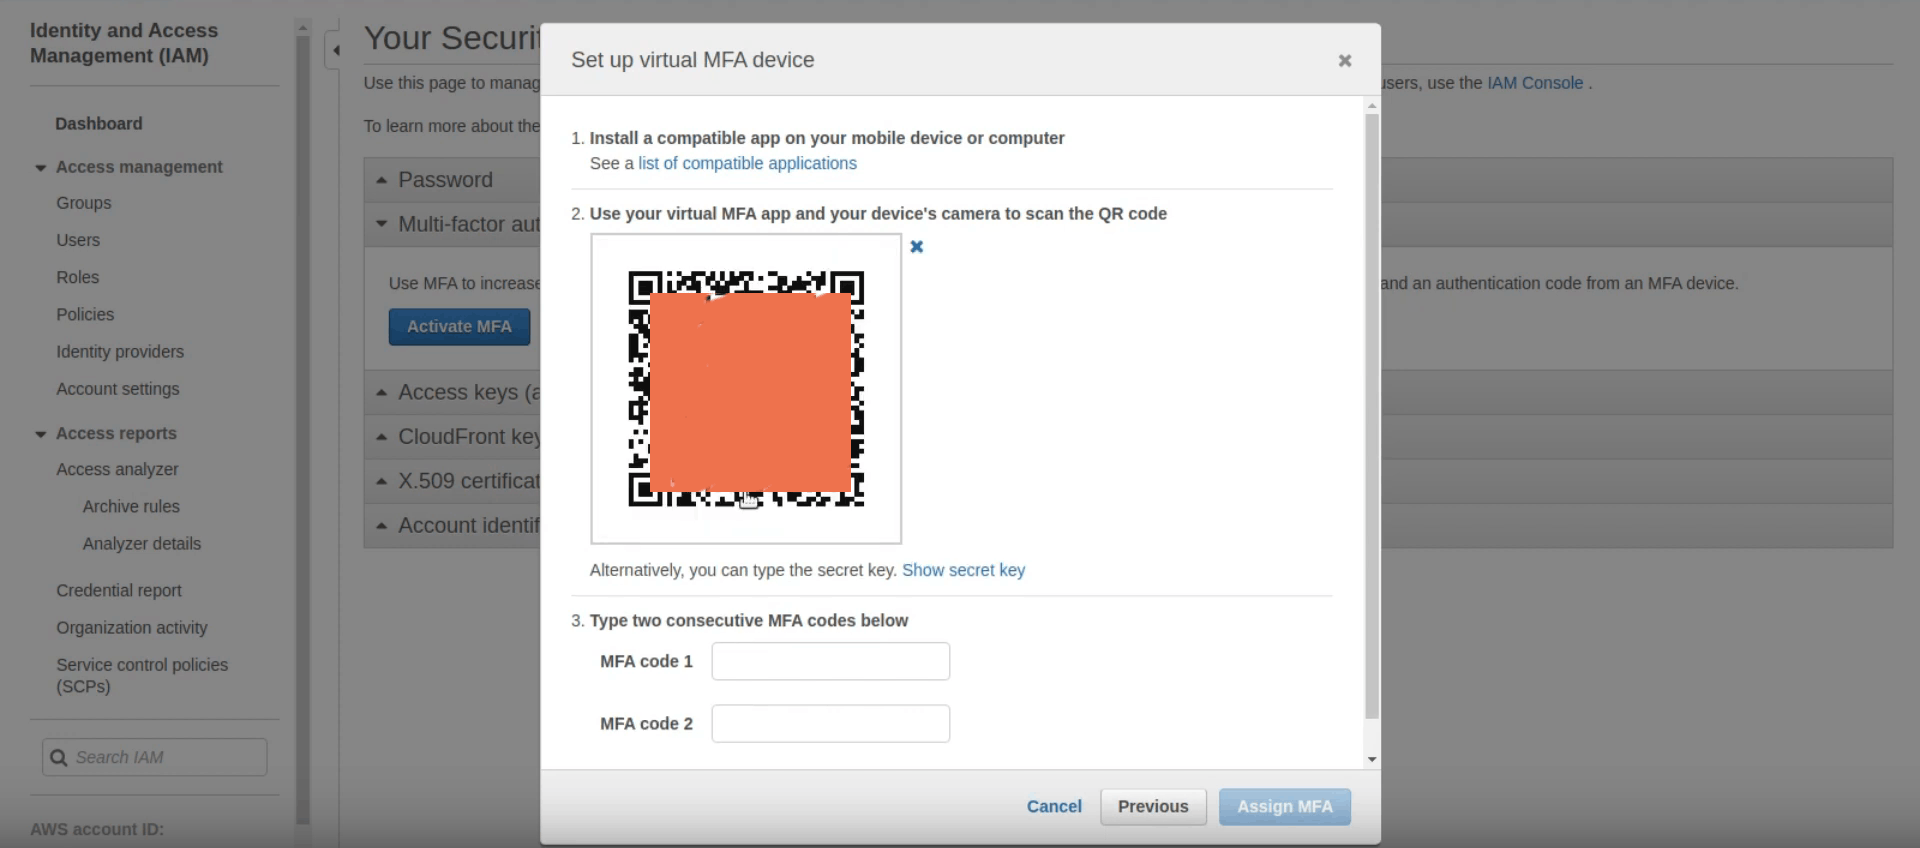
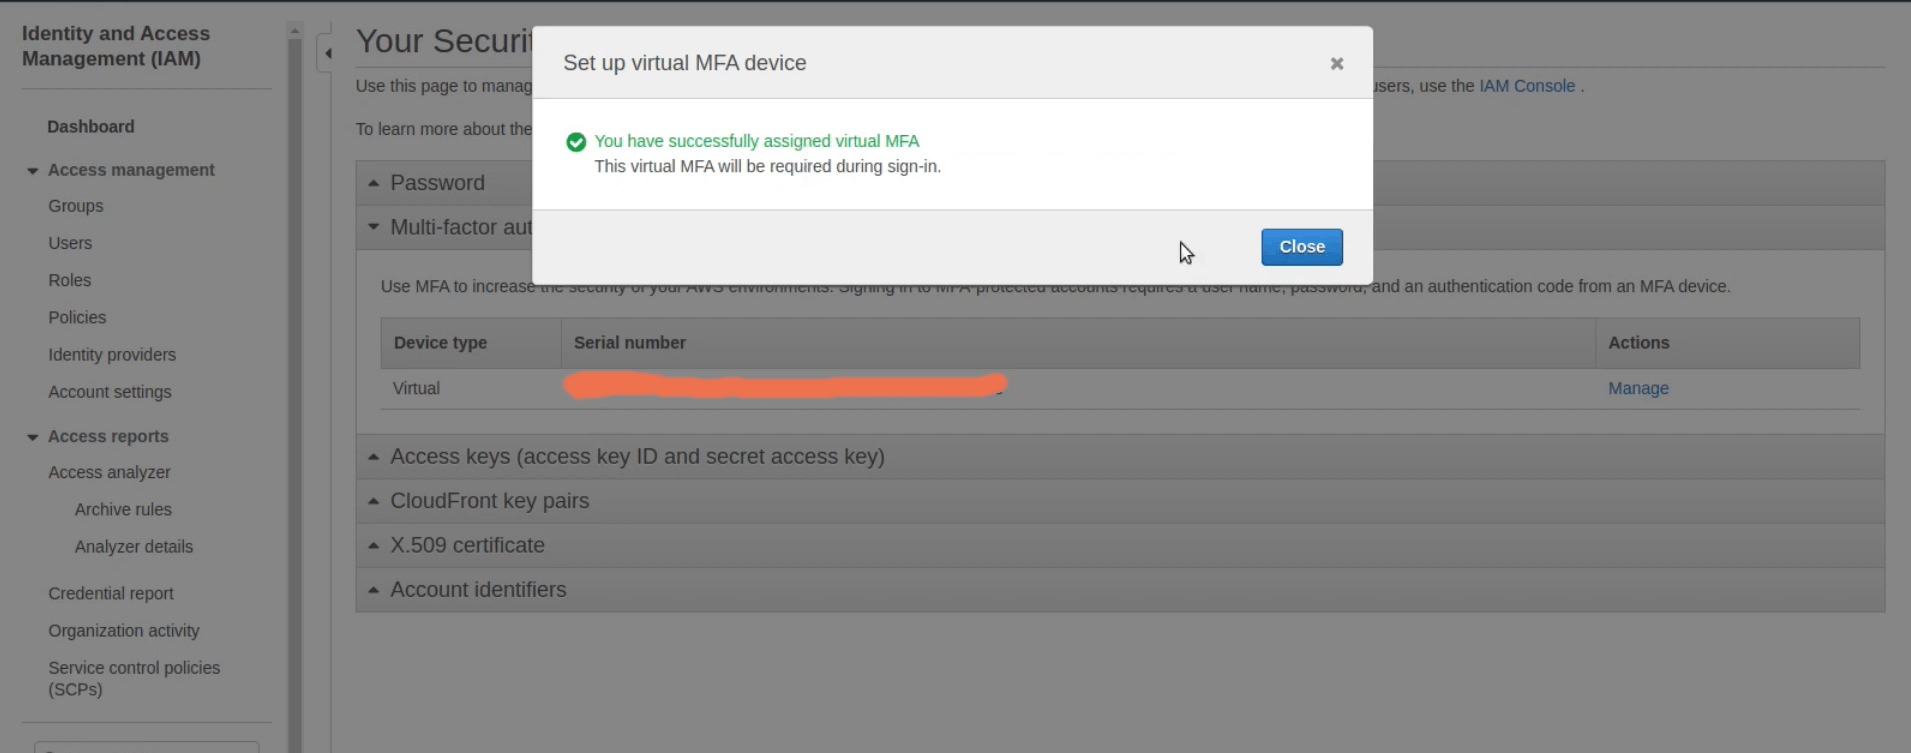
- Once you have added your account, you need to enter the two consecutive MFA codes on your Google Authenticator to your AWS portal.
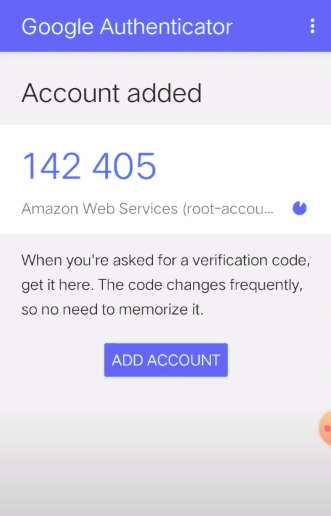
- And once you Activate your MFA, your virtual MFA device will be enabled on your AWS Account.
2. Create an Administrator or Power User
You need to ditch your root account but before that, you need to set up an IAM User either as an Administrator or Power User.
It is better to create roles as per your requirement having access to specific services or resources. Or if you want a general account with which you can experiment around things you should go for either Power User or Administrator. Both are AWS-managed Policies.
Power User has access to all AWS services and resources, but does not allow management of Users and groups.
An IAM User with AdministratorAccess has full access and can delegate permissions to every service and resource in AWS.
AWS managed policies for job functions
3. Setup AWS Cost Budget
You need to set up AWS Budget using which you can track your expenditure and take action accordingly. Also, you can set up alerts if you are approaching or exceed your AWS Budget. You can create a Budget of several Kinds i.e. Cost budgets, Usage budgets, RI utilization budgets, RI coverage budgets, Savings Plans utilization budgets, Savings Plans coverage budgets.
AWS has a limit of 20,000 budgets and the First Two Budgets are Free.
Managing your costs with AWS Budgets
4. Setup Billing Preferences
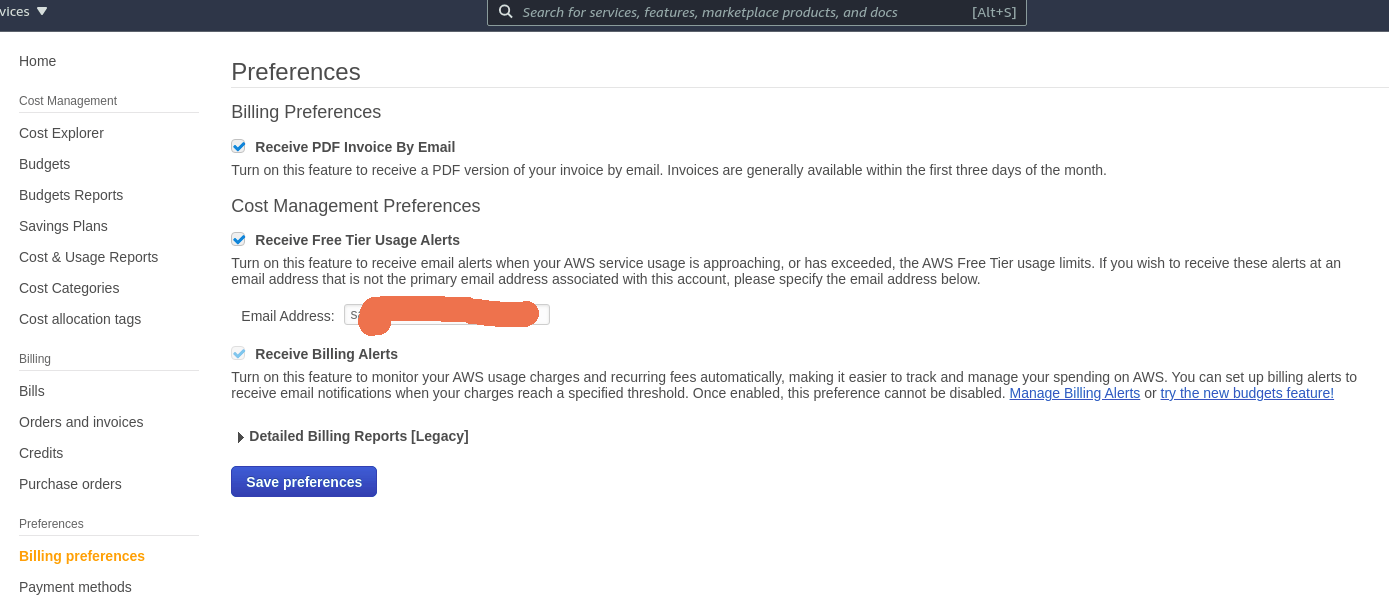
From your AWS Dashboard search for Billing and head over to `Billing Preferences and Tick the following Options and save your Preferences.
→ Receive PDF Invoice By Email
→ Receive Free Tier Usage Alerts
→ Receive Billing Alerts
4. Setup CloudWatch Billing Alarms
Head over to CloudWatch and choose billing Options. ANd make sure you are in the 'us-east-1' region since billing metrics reside there. As a part of AWS Free Tier user gets 10 free alarms and 1,000 free email-notifications.
- So you need to create an Alarm for some Amount Specific to your Usage.
- Also, create a new SNS Topic and Provide your email in order to receive notifications from CloudWatch.
- And please confirm your subscription via the email you receive from AWS. Once done you will have a Billing Alarm.
Creating a Billing Alarm to Monitor Your Estimated AWS Charges

Hope you got something of Value !